Capture Clipper: The Ultimate Web Page Screenshot Tool
Ever stumbled upon a must-save recipe, a limited-time coupon, or a blog post you wanted to revisit later—only to lose it in the depths of your browser history? I’ve been there, and that’s exactly why Capture Clipper has become my go-to tool. With just a few taps, it lets me grab, save, and organize content from any website, making digital note-taking effortless and ad-free.
Key Features:
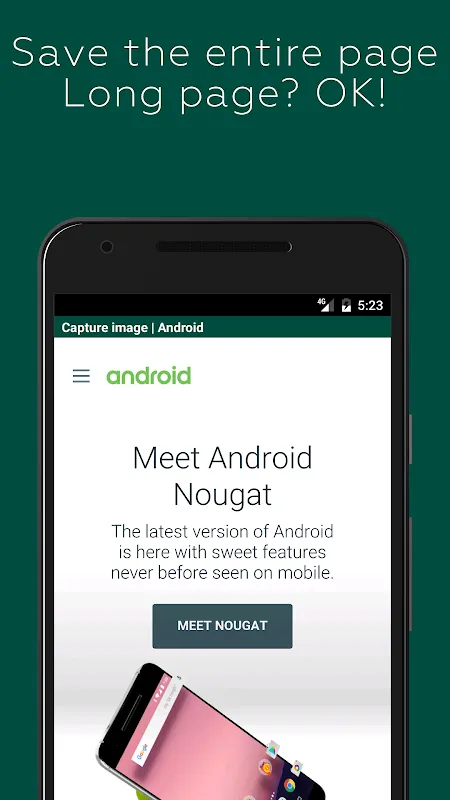
- Full-Page Capture: Whether it’s a lengthy article or a vertically stacked page, Capture Clipper seamlessly saves everything in one clean image. No more stitching screenshots together—I was genuinely surprised by how smoothly it handles long pages.
- Ad-Blocking by Default: Say goodbye to distracting ads cluttering your captures. I love how it keeps saved pages clean and focused, though you can always disable this feature if needed.
- Partial Capture Option: Sometimes, I only need a specific section—like a product detail or an address. The viewport-only capture mode is perfect for these moments, saving time and storage.
- High-Quality PNG Output: Images are saved in crisp, blur-free PNG format. When I zoom in on text or images, the clarity holds up impressively, making it ideal for archiving important details.
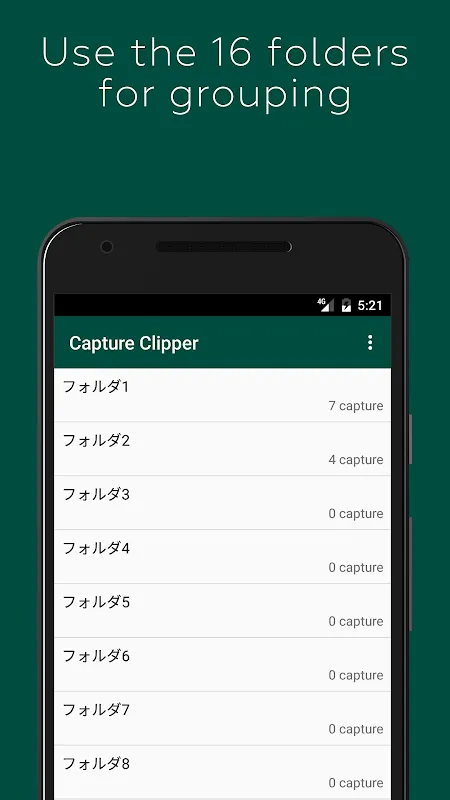
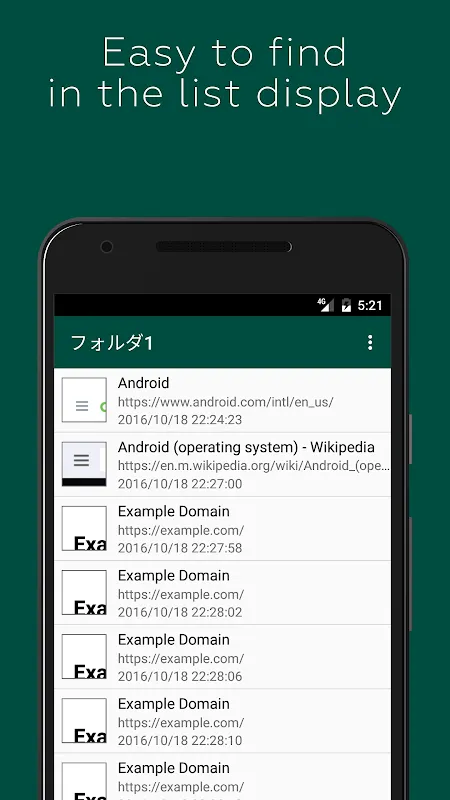
- Organized Folders: With support for 16 customizable folders, I’ve sorted everything from travel ideas to work references. Naming them freely helps me quickly locate what I need, even offline.
- Offline Access: All captures are stored locally, so I can review recipes or check saved info without worrying about data usage—a lifesaver during commutes or trips.
How I Use It:
Picture this: It’s Sunday morning, and I’m browsing for brunch recipes. I find one with a limited-time discount code. With Capture Clipper, I capture the entire page—ingredients, steps, and coupon—in one go. Later, at the grocery store, I pull up the saved image offline, no internet needed. It’s that simple and reliable.
Step-by-Step Capture Guide (Chrome/Standard Browsers):
1. Open the website you want to save.
2. Tap the browser menu (usually three dots).
3. Select [Share Page] or [Other], then choose Capture Clipper.
The process is intuitive and works across most browsers—no learning curve required.
Handling Login-Restricted Pages:
While Android limits direct captures of pages behind logins (e.g., social media or email), Capture Clipper’s preview screen acts like a mini-browser. I simply log in first, then capture. The “Reload First Page” option sometimes helps post-login, though it’s not foolproof. It’s a minor workaround, but it gets the job done.
Limitations:
Capture Clipper is designed solely for web pages—it won’t capture native apps like Facebook, games, or email apps. For those, I use Android’s built-in screen capture (holding Power + Volume Down). It’s a small trade-off for an otherwise versatile tool.
Final Thoughts:
Capture Clipper excels at making web content saving straightforward and organized. The ad-free captures and offline access are standout features, though the login-page workaround requires patience. If you frequently save web content for later—whether for recipes, research, or inspiration—this tool is a worthy addition to your digital toolkit.
Keywords: web capture, screenshot tool, ad-block, offline saving, organize content


